What exactly is this indicator?
Our brand-new “MACD Bollinger Pro” indicator combines 2 of the most popular indicators – MACD and Bollinger Bands – into what we call the ultimate solution for cashing in on market momentum.
And by fusing 2 of the best indicators in history, we’ve in effect created…
The best “trend identifier” I’ve ever used…
It gives MORE valid trade signals. And it also ELIMINATES a lot of false signals.
Take a look at this chart to see MACD Bollinger Pro in action:
And… when the dot is positioned between the 2 bands, it means the trend is neutral. And the market could be transitioning from uptrend to downtrend or vice versa.
With just one quick look at the dashboard, you’ll INSTANTLY know the current trend on ALL timeframes. How cool is that?
Now you can easily scan all timeframes for high-probability momentum trading opportunities.
And that’s not all. You’ll also get…
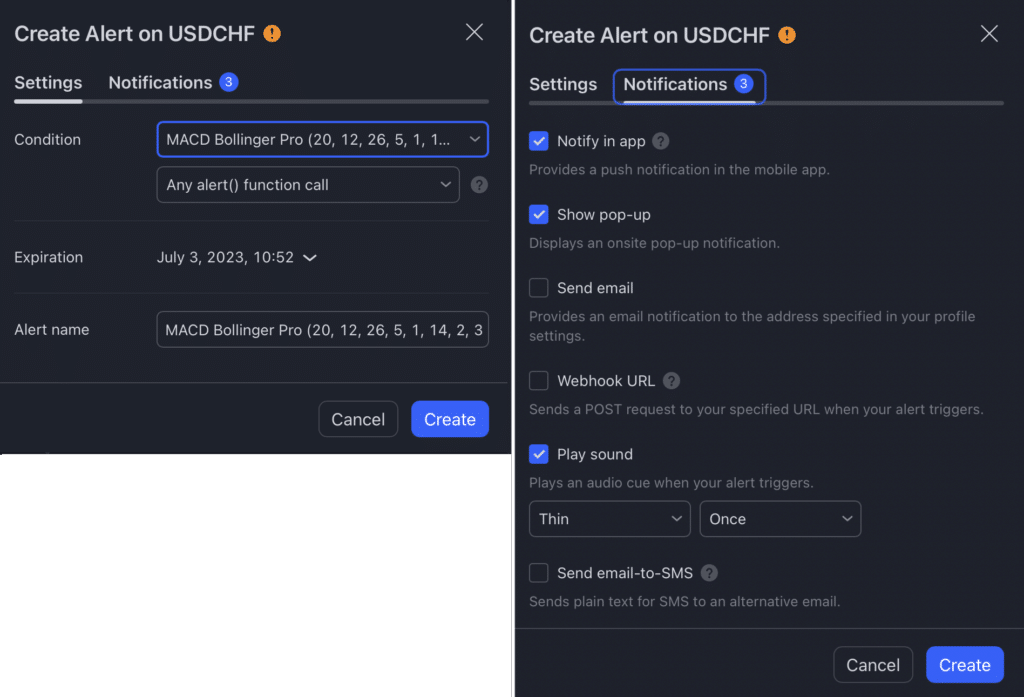
Notifications, so you won’t miss any signal.
Plus… you’re in total control. You can customize the indicator to fit your style of trading. For example, you can change the color and width and style of all the bands and dots.
And… you can even set how strict you want the indicator to be. For example, if you’d like to be really strict and want to identify only the highest-probability trade setups, you could easily do so. On the other hand, if you want to get more trade setups, it’s also 100% possible.
In addition, the indicator is extremely flexible: Works on ANY currency pair… ANY time-frame.
It also works on indices, stocks, commodities, and futures. Virtually any instrument you could think of.
Watch this video guide to see how it works:
Frequently Asked Questions
After purchasing, you’ll fill out a short form that asks for your Tradingview username. And then, we’ll grant your username access to all our indicators within 24 hours.
It works on ALL markets internationally that are available on Tradingview: FX, stocks, indices, commodities, futures, etc…


